In this tutorial, I am going to show you, How to link Amazon account with Scarcity Manager. Let’s See How to link your Amazon account with Scarcity Manager.
To facilitate this process please go through the following steps:
1 STEP ONE
Log into your SM account
https://www.scarcitymanager.com/login.php
2 STEP TWO
Navigate to the header menu from the Amazon Dashboard -> Link Amazon
3 STEP THREE:
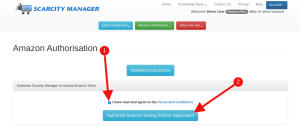
Click on the “Authorise Amazon Selling Partner Application” button. It redirects you to your Amazon Seller Central page.
4 STEP FOUR:
Enter your username and password of your Amazon Seller Central account (Note : Skip this step if you are already logged in).
5 STEP FIVE
You have to accept these terms and allow these permissions from this authorise page.
Click on the “Confirm” button to authorise the Scarcity Manager App.
*You will need to agree to the T & C and terms of the free trial period.
6 STEP SIX
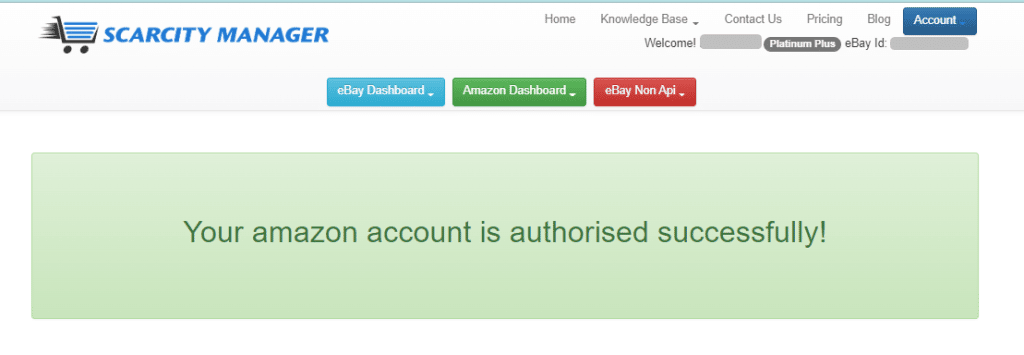
Your authorisation will be successfully shown when complete as below.
7 STEP SEVEN
Now you are ready to begin to fill in your dashboard..
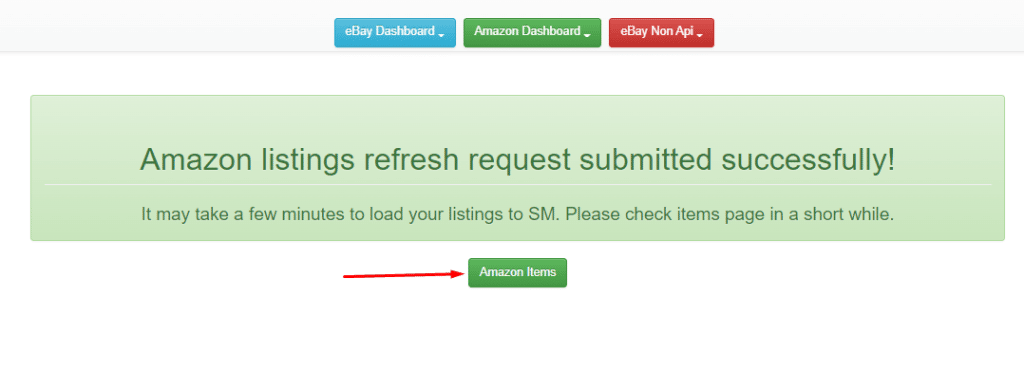
Navigate to the header menu from the Amazon Dashboard ->Refresh Listing Request
Once your items are imported from Amazon. It will appear on the listing page. It may take a few minutes to load your listings.
Click on “Amazon Items” button to view your items
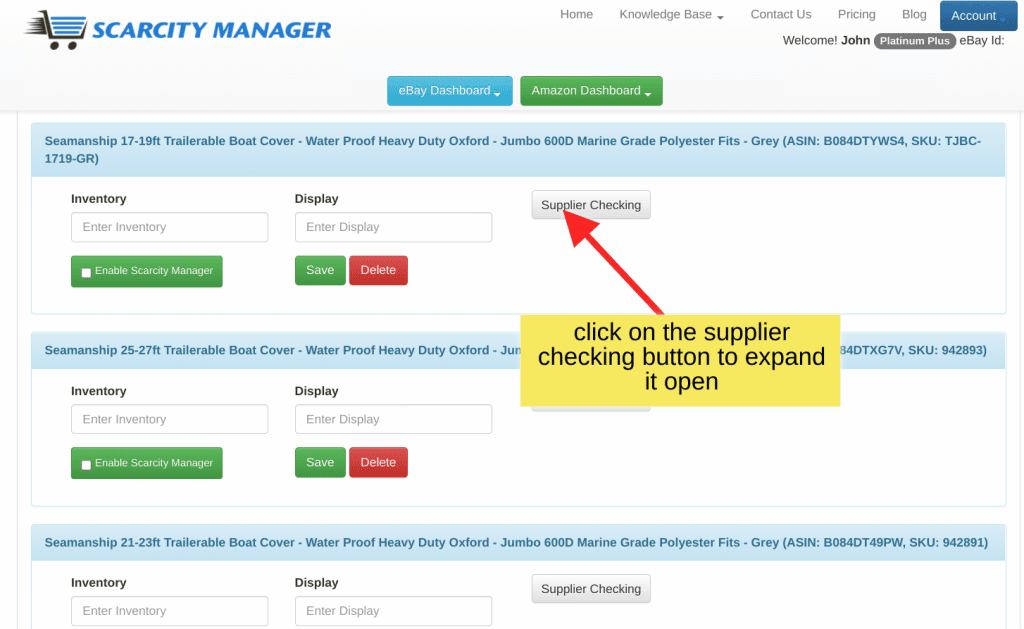
From here, you can click on the Supplier Checking Button to begin filling in your listings.
We have an instructional video that has been emailed out to you, this will show you just how easy it is to get started filling in your listings, so that Scarcity Manager can check your suppliers stock and price status for you. You can also access that video here:

